We uses cookies to ensure you have the best possible online experience. By continuing to use this site you consent to the use of cookies.
UKAS Accreditation and Quality Assurance
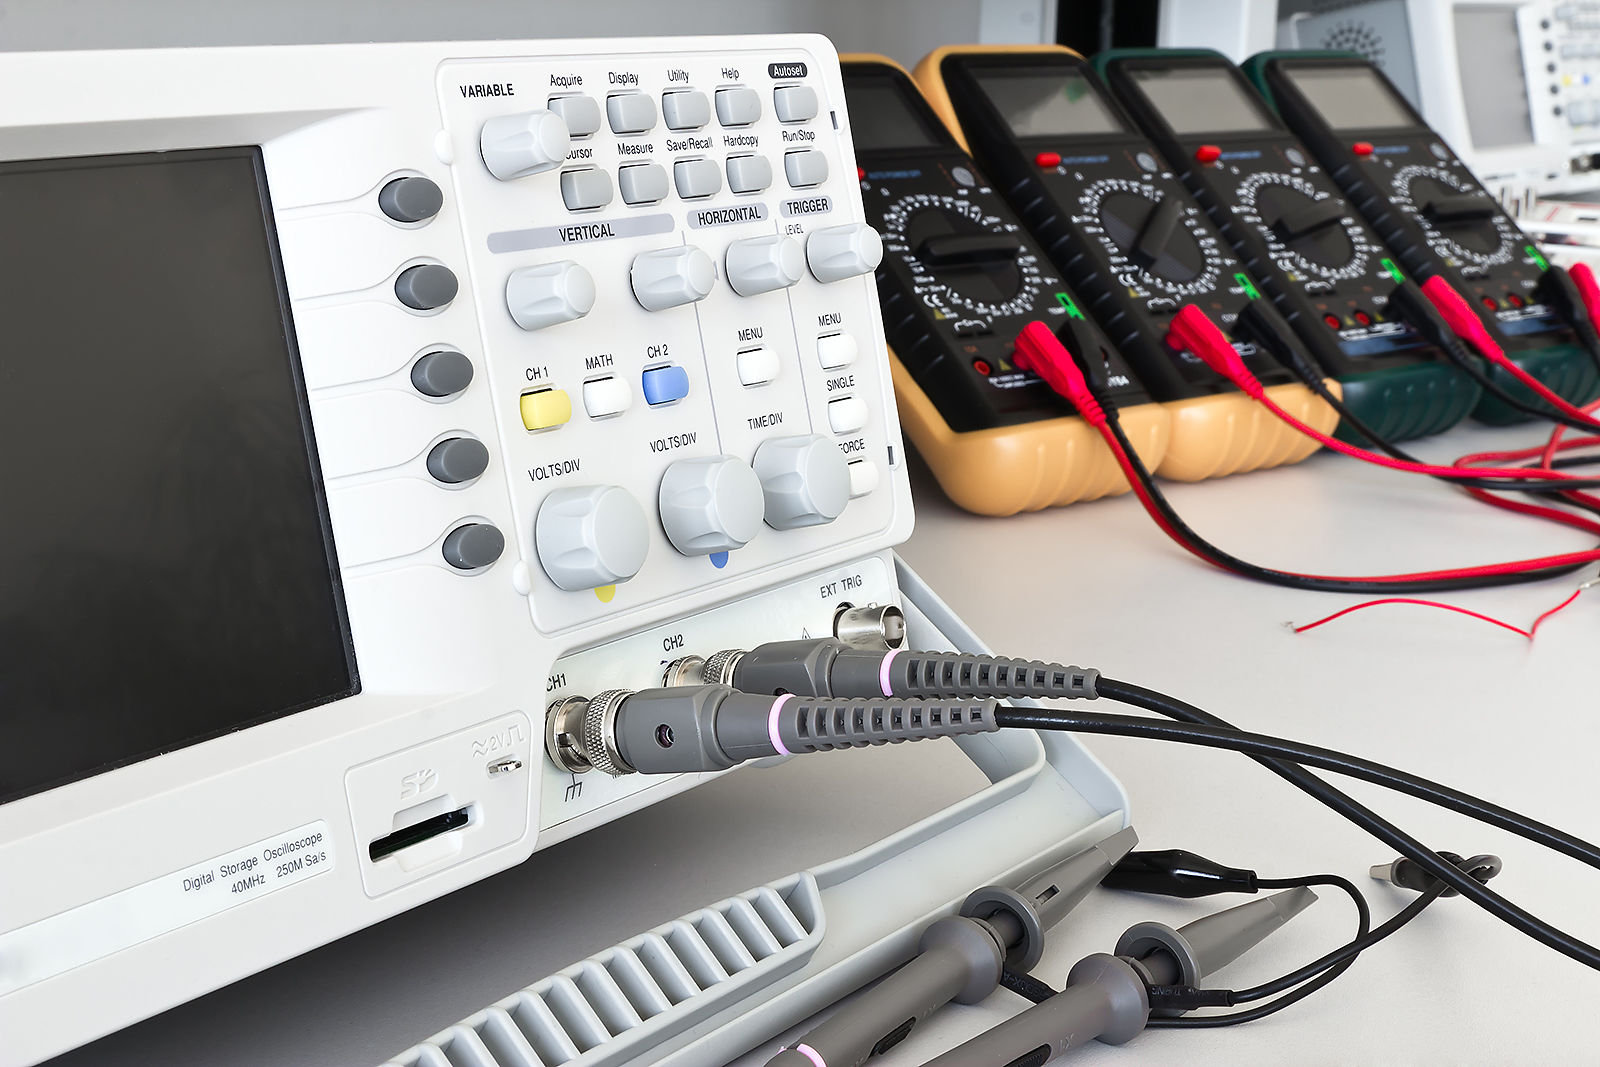
Find out more about UKAS, ISO17025, ISO9001 and how the gauge, meter and instrument calibration services we offer are backed up by an extensive UKAS schedule of accreditation.
Collection and Delivery
Free for regular customers across much of the North West using our own fleet of vans… Cheshire, Clwyd, Cumbria, North Derbyshire, Lancashire, Greater Manchester, Merseyside, Shropshire, South and West Yorkshire, West Midlands.
A UK wide service is also available by courier.
> See our FAQ page for further details, including UK wide service
Web access to your calibration records
Our Inventory Management Solution (IMS) gives you internet access to your measuring equipment calibration records. You can generate "recall" and "overdue" reports, download certificates and lots of other stuff.
And the best bit ... IMS is really simple to use.
60,000+
Calibrations a year
33
Years in business
2,000+
Customers
Quick Links
Understand more about calibration - and the way we work
What is Calibration?
Calibration is the process of comparing a measuring instrument (the Unit Under Test or UUT) to a standard of known accuracy. The purpose is to determine the relationship between the readings indicated by the UUT and those indicated by the standard.
A calibration certificate would therefore ideally show the measured results for the UUT versus the measured results from the standard
Traceability of Calibration
To provide confidence in the validity of the calibration results they must be traceable. This means that the results on the instrument calibration certificate need to be traceable to the standard used, and the results on the certificate for the standard are in turn traceable to the standard used for its calibration. And so on back to standards held by a national laboratory (Eg the National Physical Laboratory - NPL in the UK). Furthermore, each set of results in this unbroken chain should be accompanied by a quantified statement of the uncertainty of measurement.
The easiest way to demonstrate formal traceability is to use the services of a UKAS accredited calibration laboratory. A laboratory whose procedures, equipment and personnel have been independently audited to the international standard for the competence of testing and calibration laboratories ISO/IEC17025.
Uncertainty of Measurement (Calibration Uncertainty)
This is the uncertainty or doubt that exists about any measurement that is made. There will always be an element of uncertainty about any measurement no matter how carefully the measurement is made. If the measurements are carried out as part of a calibration, then the uncertainty should be reported on the resulting certificate. You can think of the uncertainty as the accuracy with which a measurement has been made.
Eg. If a length measurement is reported by a calibration laboratory as 100mm, with an uncertainty of +/- 0.002mm, and to a confidence probability of 95%. What the calibration laboratory is actually saying is that they are 95% sure that the actual length lies somewhere between 99.998mm and 100.002mm.
Statements of Conformity and Decision Rules
A Conformity Statement is a statement about whether an item conforms to, or does not conform to a specification (E.g. pass/fail or in-tolerance/out-of-tolerance).
A Decision Rule is a rule about what is considered a pass and what is considered a fail, and how measurement uncertainty affects the statement of conformity.
We may include a Statement of Conformity (E.g. pass/fail or in-tolerance/out-of-tolerance) on your calibration certificate. Unless otherwise dictated by the reference specification and/or described on the certificate, the Conformity Statement will be based on a binary Decision Rule ('simple acceptance') where the acceptance zone is the same size as the tolerance zone, and the calibration uncertainty is not greater than the tolerance. The validity or accuracy of the Conformity Statement will be affected by the reported calibration uncertainty which will inevitably give rise to the risk of 'false pass' and 'false fail'. The risk of 'false pass' or 'false fail' will increase as the size of the calibration uncertainty increases relative to the size of the tolerance zone. Notwithstanding such variables as readability and repeatability of the unit under test our general calibration uncertainties are detailed in our UKAS Schedule of Accreditation.
If you would like us to take a different approach please submit your detailed written requirements prior to us commencing work on your equipment.
For further information about Conformity Statements, Decision Rules and the effect of Calibration Uncertainty please see ...
ISO/IEC Guide 98-4 "Role of measurement uncertainty in conformance assessment".
ILAC G8 "Guidelines on decision rules and statements of conformity".
Acceptance Criteria (Tolerances)
Acceptance criteria is the criteria against which an instrument, gauge or meter is judged when it is calibrated. The Pass/Fail criteria.
We calibrate a wide variety of instrument or gauge types. Such as dimensional, electrical, pressure, temperature and torque. And in the absence of specific customer instructions we usually have to make a decision about what constitutes a pass or a fail.
A great many dimensional measuring instruments for example are manufactured in accordance with a British or ISO standard. Where these standards contain tolerances for the various features of the instrument we would normally judge the measured results of the calibration against these tolerances.
This is not usually the case with electrical instruments. We would therefore normally use the instrument manufacturer's published specifications when calibrating electrical instruments.
Basically, in the absence of any specific instructions from the customer, we would use our best judgement and do what we consider to be most appropriate. So, in some cases we use a well defined British or international standard, in other cases we might consider it more appropriate to use the manufacturer's specifications, and in cases where there are no published specifications for the item being calibrated, we might simply report the results as found.
Customers that require a different approach should submit their detailed requirements in writing prior to us commencing calibration work on their equipment.
Calibration Intervals
According to ISO17025 (the standard against which we are accredited) re-calibration intervals that aren't governed by legal requirements should be determined by the customer, not the calibrating laboratory.
This makes perfect sense as it is the customer not the calibrating laboratory who will have the best understanding of end user requirements and the environment in which the measuring equipment will be used.
So, with the exception of some NADCAP work, where the customer specifically asks for it, we do not put calibration due dates on certificates.
Purely for the convenience of the customer, we treat calibration labels a little differently. These are generated from the database we use to keep a record of the work we do.
Within the database we can set calibration intervals for each piece of measuring equipment on an item by item basis.
At the customer level we can switch on or off, the printing of "due dates" on calibration labels. This however applies to all labels for a particular customer.
By default, we switch on the printing of "due dates" on calibration labels, and we set the calibration interval at 12 months. As I said previously, we do this for the convenience of the customer, because it is what most customers want, most of the time. We can easily change this though, if it's not what you want.
If you don't want due dates on your labels, just tell us by sending an email to mail@lambda-cal.co.uk and we can switch the facility off. Please be aware though, that this switches off due dates for all equipment belonging to a particular customer, so if there are other people within your organisation that we calibrate equipment for, it will switch off the facility for their equipment as well.
If you want to change the calibration interval on an item that we've previously calibrated, you can tell us by sending an email to mail@lambda-cal.co.uk or just put a note with the item when you next send it in for calibration. If we haven't seen a particular item before, and you don't want a 12 month interval on it, it's better to put a note with it when you send it in for calibration.
What to consider when Setting Calibration Intervals
An instrument's performance was known the last time it was calibrated, but how has it changed since that time?
The newer the instrument, the more frequently it needs to be calibrated, until its ability to reproduce measurements over a period of time has been established and is well understood.
A user might estimate a suitable recalibration frequency, based on previous experience of similar instruments used in similar environments, but it is only when the actual data from a series of successive calibrations of a particular instrument has been properly analysed that a meaningful recalibration frequency can be determined for that particular instrument.
Choosing a Calibration Laboratory
The safest way forward is to use the services of a UKAS accredited laboratory.
A laboratory whose staff, technical capabilities and management systems have been independently audited and accredited to ISO/IEC17025.
By so doing you will have confidence that the laboratory has the necessary equipment, management systems, technical competence and impartiality to consistently deliver properly traceable and valid calibration results time after time.
Accreditation to ISO/IEC17025 goes way beyond the requirements of standards such as ISO9001.
A laboratory that is certified to ISO9001 alone has only had its quality management system certified, not its technical competence, and should not be considered a suitable alternative to a UKAS accredited laboratory.


